Friday, June 8, 2012

Ottoman Remake

You may have noticed that I've been missing in action lately. Well I've actually picked up a few more hours at work which is good for the finances but not so great for fun stuff.  

I've actually been doing a ton of projects but just haven't had the time to edit photos and get the posts written.  I also decided it's not worth stressing over.  Sooooo, basically I'm going to work on this little old blog whenever I feel like and/or get a chance to.  Unfortunately, this may not be very often.  (Shrug and eye roll.)

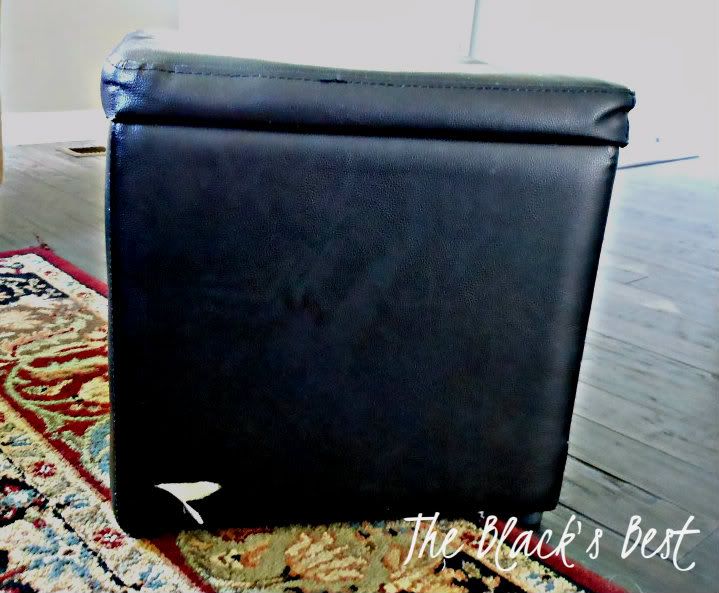
One of the projects I've had a chance to complete, mostly because it was bugging the crap out of me, was this sorry little ottoman.  Notice the little tear.  No the responsible party was not one of my crazy boys...it was my crazy husband.:(

DSCN1041

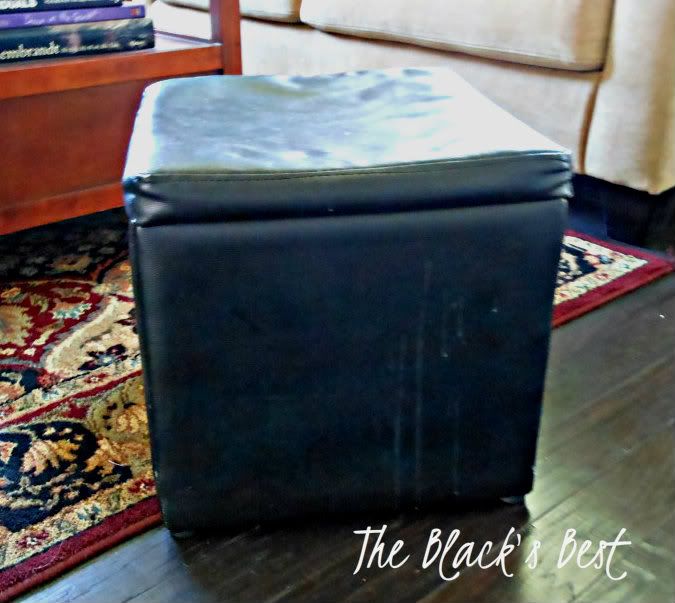
On the other side you'll notice a nice splatter that doesn't want to come off and yes the top is a bit concave.  This little $25 dollar piece has definitely done a good job and had hard use.  It has supported many propped feet, the occasional rear end, and 4 boys that use it as a jumping platform.

DSCN1043

I wasn't  ready to give up on it.  I was also too cheap to replace it.  Out come my amateur sewing skills to make a cover.  This cover is made out of a drop cloth and I love the little ruffled skirt that makes it one of the few girly things in my house.  I attached some grosgrain ribbon above the ruffle with some stitch witchery (gotta love that stuff) and I have a remade ottoman.  One I think is a.dor.a.ble!
 
  DSCN1032 

  Here's the only problem; my boys decided to continue to play with it just as roughly as they did pre-cover.  Pretty soon the little ruffle started to detach, aaaand it turns out canvas drop cloths aren't as sturdy as I thought.  There are also some nice stains on the top now from my 2 year old using it as a napkin.

Can I not have anything cute in this house?  (Picture me in tears because I am totally outnumbered by male insanity.)  Oh well, I tried.  Now I have two leather ottomans that are easily wipeable in the family room and I hope to repair my cover and move this sweet ottoman to my own room where it might stay intact.

  post signature
Linking to:

Addicted 2 Decorating 
Miss Mustard Seed 
French Country Cottage 
At the Picket Fence 
Tatertots and Jello 
Funky Junk Interiors 
Positively Splendid 
Be Different Act Normal 
Sisters of the Wild West 
I Heart Naptime 
DIY Showoff 
A Bowl Full of Lemons 
Between Naps on the Porch 
Pinkapotamus 
Coastal Charm 
Today's Creative Blog 
How to Nest for Less 
Home Stories A to Z 
Naptime Delights

Saturday, April 28, 2012

Whitney Farm Garden Helps

This is a Sponsored post written by me on behalf of Whitney Farms for SocialSpark. All opinions are 100% mine.

Whitney-Farms-Logo_Banner_New_C.jpg (6 documents, 6 total pages)

I really enjoy gardening.    Most of the time I'm even successful at actually getting some useable produce from my garden.  Lately, I've been trying to focus on using more organic products where I can.  For example, I've switched to largely organic cleaning products, I've even started making my own bread to avoid the preservatives in the stuff you buy at the store.  Bet you're asking right now what any of this has to do with gardening.  Well, this year I have a goal of using more natural products in my garden as well. 

That's where Whitney Farms® organic soil and organic plant food come in.  By using organic products, I can avoid putting chemicals into all of the fruits and vegetables that I grow.  Then I don't have to worry about feeding nasty stuff out of my garden to my growing kids.  I know they won't know the difference, but it definitely makes me feel like I'm doing something healthy for them by going organic.

Here's a picture of my garden last year.  Not bad, but it could be so much better.  This year, I'm hoping to use some of Whitney Farms® organic soil (low dust and doesn't smell like manure, thank goodness) to beef up my dirt (or what you may know as sand and rocks).  I dream of dark rich earth that produces huge yields.  Something that just isn't happening yet in my garden.:(

IMG_4573

I'm also going to swap out the chemicals I use to fertillize 2 to 3 times per season and use the organic plant food that Whitney Farms has.  I have got to have lush, green, beautiful produce I can use to make salsa, salads, and jams.

Organic Plant Food

Does anyone besides me (I know I'm weird) dream of gardens plans and organic growing methods?  Yeah, that's right, I dream of ways I can improve my garden.  What can I say?  I'm hooked.


Whitney Farms® has been nice enough to give ya'll reading this post a $3 coupon so you can try it out.  Woot woot!

Advertisement

Visit Sponsor's Site

Monday, April 23, 2012

Penny Project

I just had to share a little project that has been in the works for a ridiculously long amount of time. Ridiculous because what should have taken me a few hours has dragged out into a couple of months. Life just seems to work that way for me lately. I'm stirring too many pots at once. 

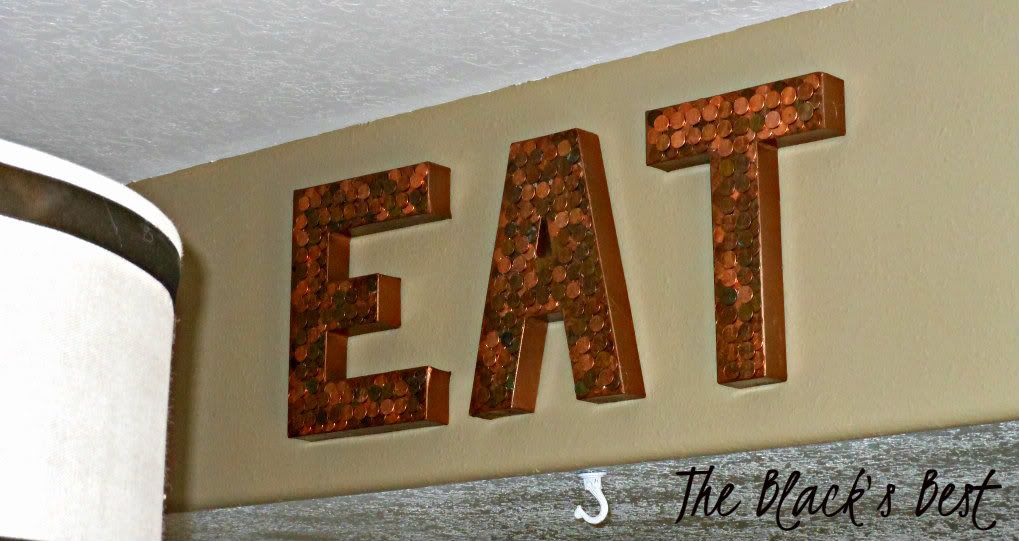
Am I the only one who loves all of the penny art/projects out there on Pinterest right now?  I found inspiration for this project over at The Crafted Sparrow.  I did a few things the way she did and some a bit differently.  I took some big paper mache letters I found at Joann's, spray painted them copper, and then hot glued my pennies on.  I put all of mine face up and pointing about the same direction because it would make me a little bonkers otherwise.

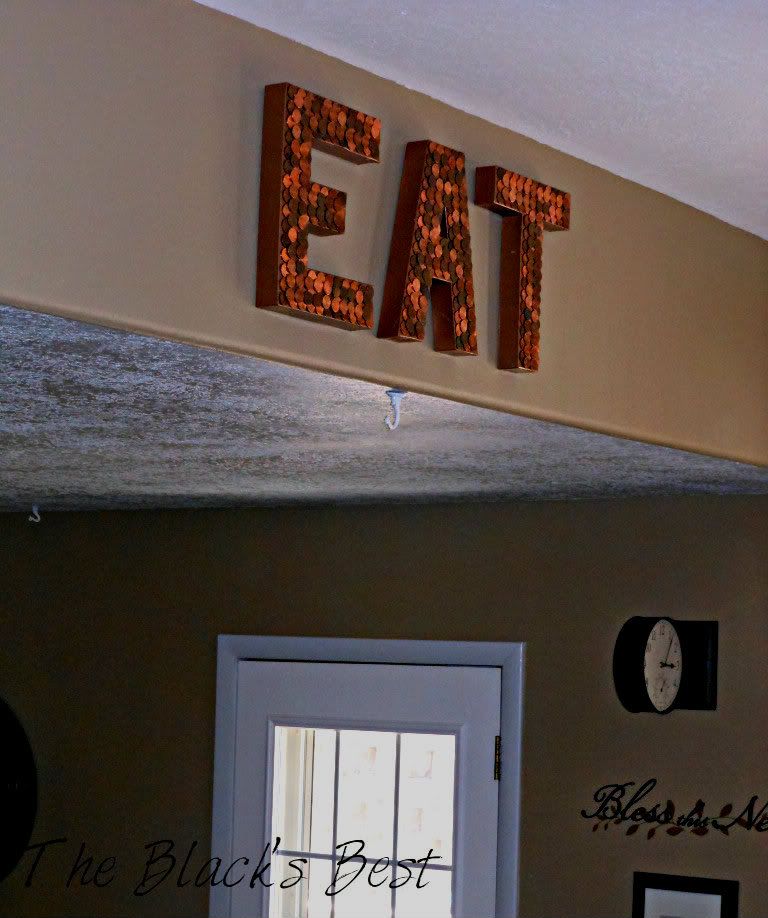
I had the perfect space for my new project.  An annoying ceiling drop between my kitchen and family room that I think these dress up a bit.


PennyLetters2


I'm really loving how they look and can't believe that it took me so long to get them done. 


PennyLetters


Please ignore the stupid hook below my cool new letters.  I can't get everything perfect all at once.;)
 Now I'm motivated to get that tacky thing out of there.  Problem is that the screw holding it in is about 2 inches long and huge in diameter so patching it is gonna be a pain in the butt.

PennyLetters1

Ok, back on topic...I now feel like I'm perfectly on trend. Kidding. I'm just following my motto that only the ideas I love go into my home, and my new EAT sign is something I L.O.V.E!  Plus, I made it for about 8 bucks and saved myself having to roll a bunch of pennies.

Have any of you out there tried projects with that loose change you have under the couch cushions?

post signature


Linking to:

Coastal Charm 
Sassy Sites 
Home Stories A2Z
Sugar Bee Crafts 
Today's Creative Blog 
A Bowl Full of Lemons 
Savvy Southern Style 
Oopsey Daisy 
Blue Cricket Design 
The Shabby Creek Cottage 
The 36th Avenue 
House of Hepworths 
Somewhat Simple 
Teagan's Travels 
Tidy Mom 
The Shabby Nest 
French Country Cottage 
At the Picket Fence 
Stuff and Nonsense

Tuesday, April 10, 2012

Skor Cake

Ok, has anyone besides me grown up on COOL WHIP whipped topping?  I gotta tell ya that I've had this awesome stuff in just about any way you can think of.  Incorporated with Jell-O, used in cheese cakes, as a topper, an ice cream substitute, with hot chocolate, etc.  The recipe I'm sharing today uses a COOL WHIP frosting layer...yum! 

I think I got this recipe from my aunt more years ago than I'm going to admit.  It happens to be one of my husband's favorite desserts.  I call it Skor Cake but you'll notice that I'm using Heath bars this time around...yeah, I'm a traitor.  Actually, I just couldn't find the Skor bars at the store this time around.:)

So your main ingredients are going to be a yellow cake mix, some type of jello instant chocolate pudding, and of course, your COOL WHIP topping.
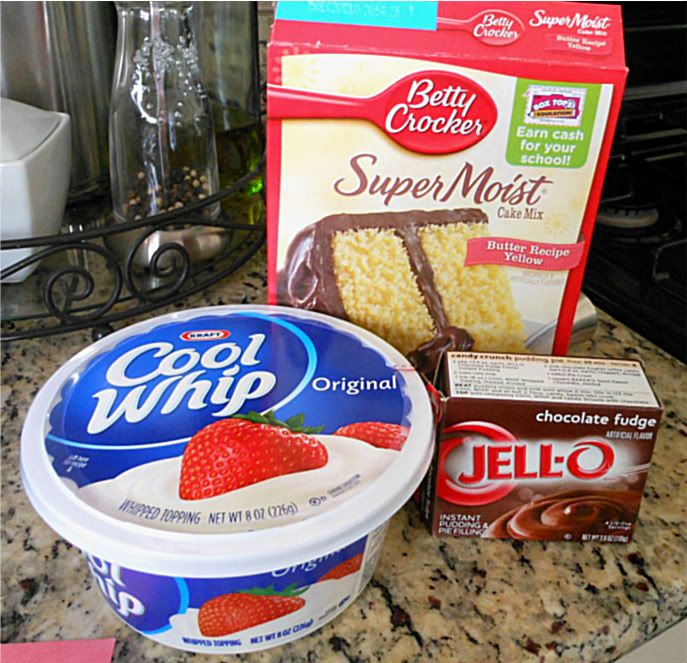

Photobucket

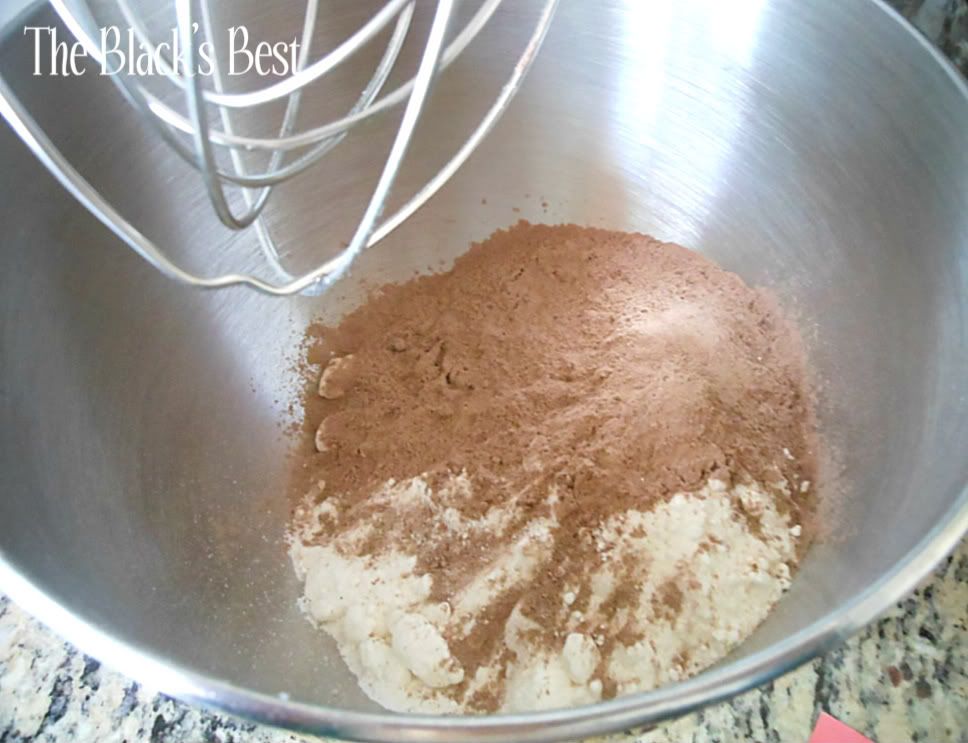
Pour your cake mix and pudding into a bowl.  I like to use my Kitchen Aid mixer, cause I'm to lazy to use a hand mixer.  Easy is how I roll.

Photobucket

Throw in a couple of cups of warm water, and 2 eggs and mix it all together for another couple of minutes. 

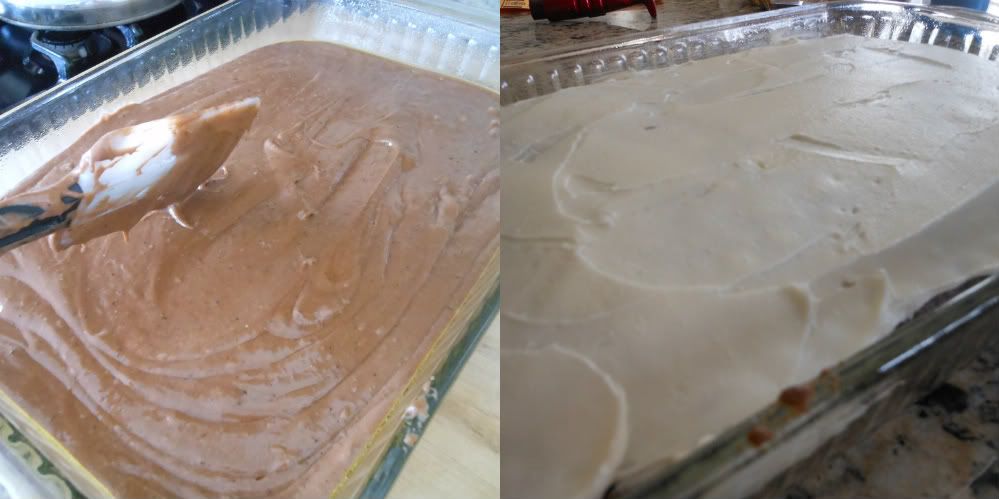
Pour your mix into a 9x13 cake pan after spraying it with a non-stick spray.  Bake at 350 degrees for 30-35 minutes.  While this is baking, you can mix together your icing layer that is 1 cup of powdered sugar and 1 cube of soft butter.  I usually just cream these together by hand.

Let your cake cool and then spread a thin layer of the icing over the top.

Photobucket

You may need to refrigerate your cake for a few minutes to harden the icing, then you get to spread on your oh-so-good COOL WHIP "frosting".

Next, you take your frozen Heath Bars or Skor Bars (about 4 or 5 of them).  Whatever floats your boat.  I thing Skor Bars have a bit more of a chocolate coating which I prefer.  Yeah, I'm definitely a chocoholic.

Now, the fun part.  Smack the heck out of these bars.  I'm not kidding.  I usually get a meat tenderizer and go to town.  You want to break up the candy into fairly small pieces.


Photobucket

Sprinkly them all over the top, I mean, why not? 

Looking pretty good.


Photobucket

Here's another shot.  You've got to taste this.  The cake is super, I mean SUPER moist.  The thin icing gives just a bit of sweetness.  The COOL WHIP topping is a nice fluffy, not heavy, layer.  Then you get the nice sweet, chocolate toffee crunch of the candy.  Oh my good.ness.  Have I sold you on it yet?


Photobucket

 Don't forget to store this dessert in the refrigerator.  I think it tastes best if it has chilled for a couple of hours, simply because all of the layers stand out a bit better, in my not so humble opinion.


Ready for the official recipe?  Here you go.


Skor Cake

1 yellow cake mix
1-3.9 oz. package of milk chocolate instant pudding (I used chocolate fudge.)
2 cups warm water
2 eggs

Bake the cake layer at 350 degrees for 30 to 35 minutes.

Icing

1 cup powdered sugar
1 stick softened butter

Cream these two together until smooth and creamy.

1 8 oz. tub of COOL WHIP whipped topping.

4 to 5 Skor Bars.  Freeze these then crush them into small pieces and sprinkle over the top of your COOL WHIP layer.


For me, easy, everyday, desserts are the way to go and this qualifies deliciously!


post signature


Sponsored posts are purely editorial content that we are pleased to have presented by a participating sponsor. Advertisers do not produce the content. I was compensated for this post as a member of Clever Girls Collective, but the content is all my own.

Linking to:

I'm Topsy Turvy 
A Bowl Full of Lemons 
Not Just a Housewife 
Savvy Southern Style 
Blue Cricket Design 
Oopsey Daisy 
Addicted to Recipes 
Positively Splendid 
Simply Klassic Home
I Heart Nap Time
Sisters of the Wild West

Sunday, March 25, 2012

Philly Cream Cheese Fondue

Do you remember the 70's? Disco, macrame, psychedelic colors, and fondue. The first three I can do without, but fondue, that's a throwback I'll keep revisiting.  

This fondue is one that my mom made for me as a kid and I still love it.  It goes together really fast too, so it's great for those lazy Friday nights when you're worn out from a crazy week.

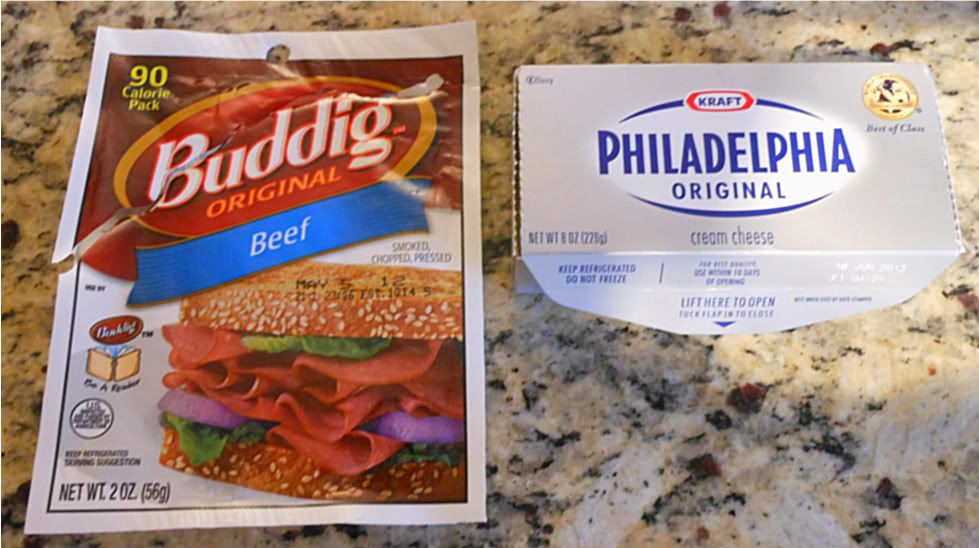
The main ingredients are Carl Buddig thin sliced beef and a couple of packages of cream cheese.  I usually use one regular bar of cream cheese and one low fat version, and haven't noticed any effect on the taste.


Photobucket


Go ahead and slice the beef into strips and while you're at it finely dice about a 1/4 cup of onions.  Put your cream cheese and 1 3/4 cup milk into a medium saucepan and slowly melt it down over low heat.  Add 1 tsp. of dry mustard and then your beef and onion.

The whole thing should get thick and creamy and all of the lumps should smooth out.  Make sure to stir it fairly frequently so the bottom doesn't scorch.


Photobucket


If you have a fondue pot, go ahead and pour the fondue on in.  I'm not lucky enough to own one so we get really lazy fancy in my house and serve it out of the pan.

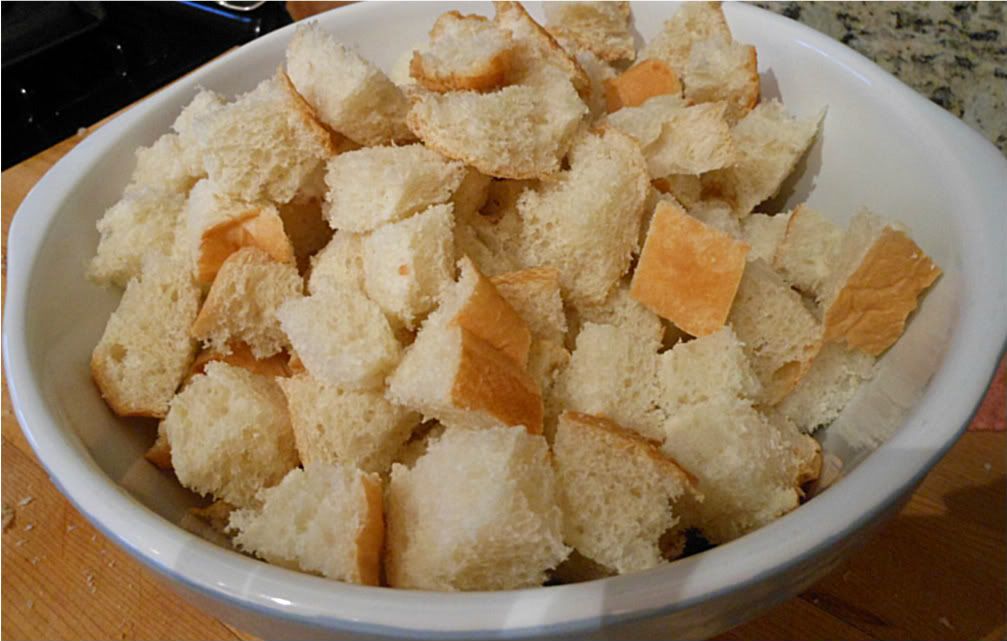
My favorite thing to dip into this is some cubed up french bread...it is just awesome!


Photobucket


Go to town, but only if you like cream cheese as much as I do.;)

Philadelphia Cream Cheese Fondue

1 3/4 cup milk
2 - 8 oz. packages of Philly Cream Cheese
2 tsp. dry mustard
1/4 c. finely chopped onion
2 pkg. thin sliced beef

post signature
Linking to:
Addicted to Recipes
DIY Showoff 
DIY Home Sweet Home 
Our Delightful Home 
Between Naps on the Porch 
Home Stories A2Z 
Today's Creative Blog 
Blessed With Grace 
Savvy Southern Style 
The Shabby Creek Cottage 
The 36th Avenue

Friday, March 23, 2012

Spring Table Runner

I am so excited to today! Stephanie over at Making of a Mom invited me to guest post.  She started a fun blog a little bit ago with all kinds of great ideas for us busy moms.

Making of a Mom

I wrote a quick little tutorial on how I kicked off some spring decor for my home with this cute little table runner.


Photobucket 
I love how it turned out so do me a favor and check it out!

Happy Friday everyone!
 post signature
Linking to:

Toys in the Dryer
Addicted 2 Decorating 
Tatertots and Jello 
DIY Showoff 
DIY Home Sweet Home 
Between Naps on the Porch 
Home Stories A2Z 
Sugar Bee Crafts 
Today's Creative Blog 
Sew Can Do 
Savvy Southern Style 
The Shabby Creek Cottage 
The 36th Avenue

Friday, March 16, 2012

Rice Filled Heat Pack

The last time I posted...I know, it's been awhile... I mentioned that I am doing an exercise program called Insanity.  Well, I'm almost to the end of my third week and seeing some results now.  I don't think I'm really losing weight but I'm definitely toning.  Also, I don't have to stop and pant like I'm gonna die quite as much.  Sore muscles are still with me all.of.the.time so I decided to make something that I didn't have and thought might help me out a bit.

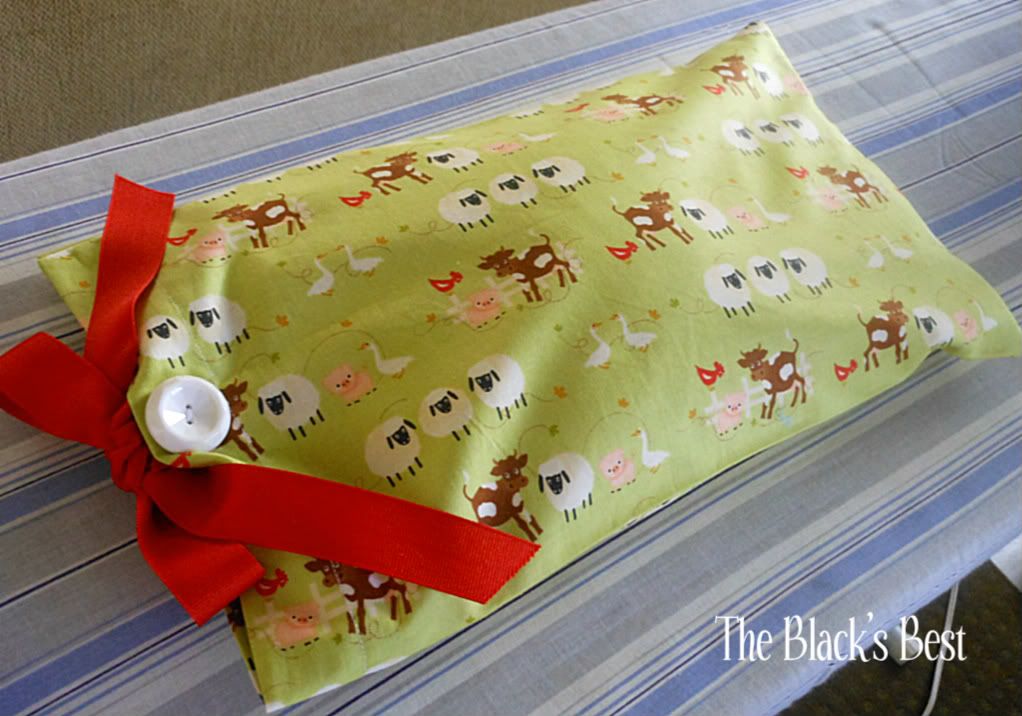
It's one of those handy dandy rice packs that you can microwave for a couple of minutes.  That, or stick it in the freezer for a cold pack.  Either way, it's great for sore muscles, and can mould to the area you need to use it on.

The only problem is I knew I needed a way to throw it into the washer and dryer.  Things around here seem to get dirty rapidly with grubby little two year old hands that love to make messes!  The solution?  I decided I would make a sleeve for my rice pack that I can take off and wash.

I had a couple of fat quarters left over from some project I was going to do and never got to.  That seems to happen to me a lot.  I just folded the fabric in half, right sides together, and sewed along the long side and one short side.  After flipping it right side out, I filled it with regular white rice and then turned the edges in and sewed the final side shut.  One step down.


Photobucket

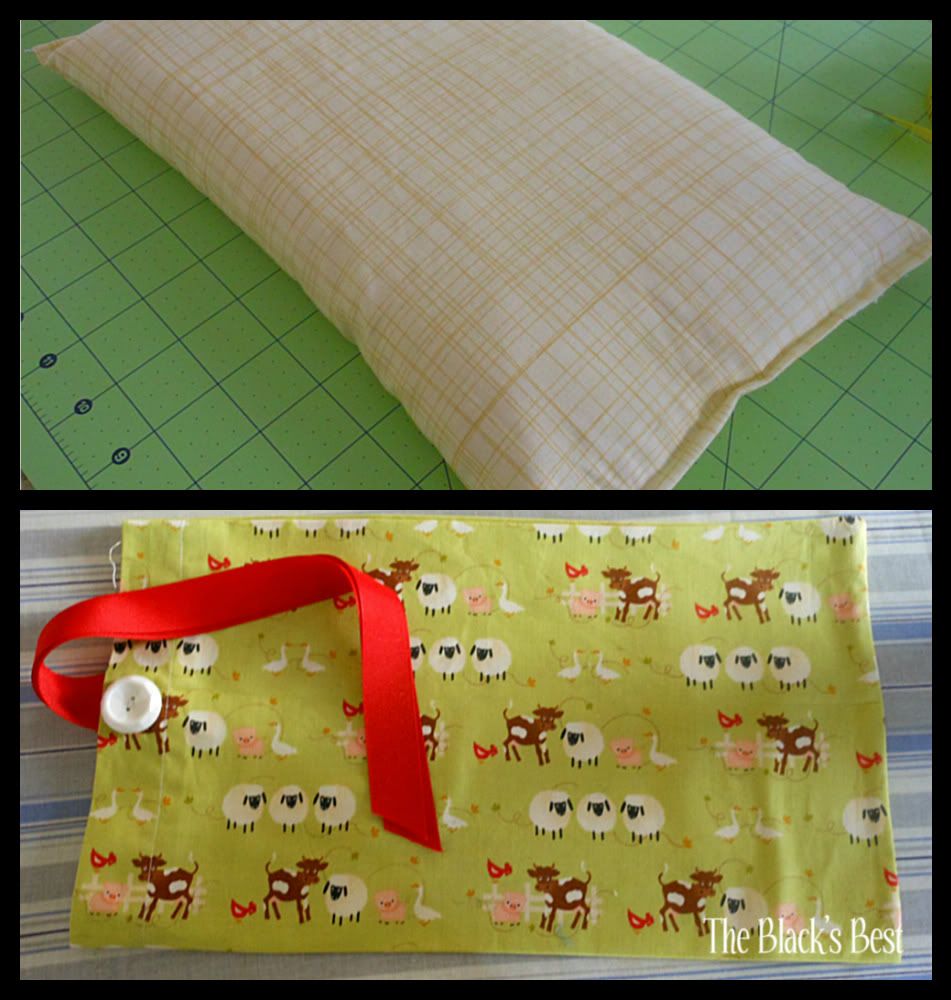
Next, I had to make my washable sleeve.  I hemmed one side of my fat quarter, folded the fabric in half, right sides together again.  A quick stitch down the long edge and the non hemmed short side and I was done.  I flipped it right side out and sewed my cute little red ribbon onto the top, inside, edge of the sleeve and them applied a button to each side to cover my stitches. 

Here are the two parts pre-stuffing...


Photobucket

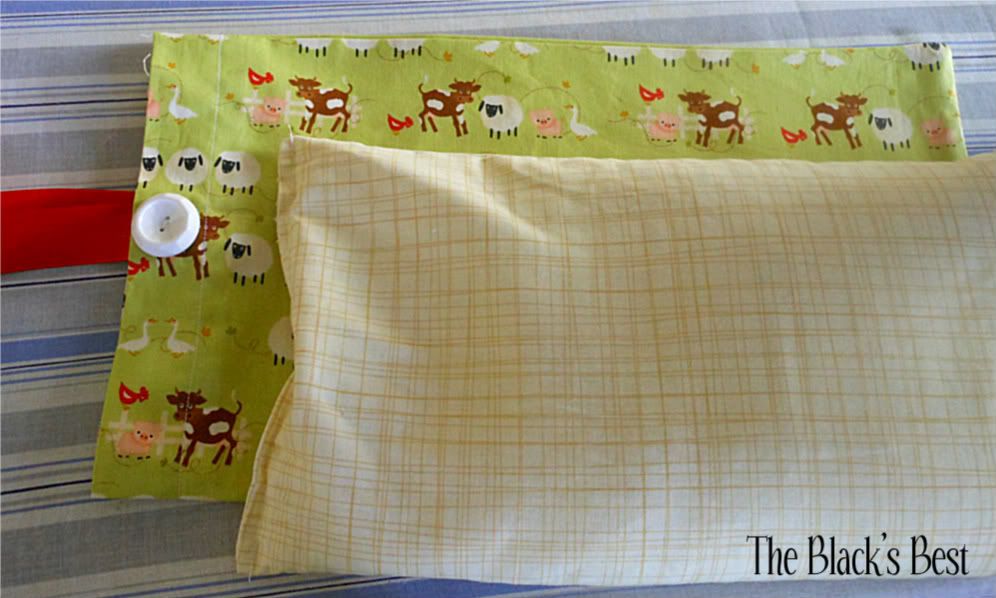
And after stuffing... 


Photobucket


I think it came out pretty darn cute.  Plus, it works really well!  If you make one, just make sure you don't get it too hot and burn yourself.  The double layers help with that fairly well, but so does some good old fashioned common sense.

 Now, between my nice heat pack and the ibuprofen, I get much needed sore muscle relief.;)

 post signature
Linking to:

Addicted 2 Decorating 
Toys in the Dryer 
French Country Cottage 
2805 
The Shabby Nest 
Tatertots and Jello 
At the Picket Fence 
Positively Splendid 
Funky Junk Interiors 
Be Different Act Normal 
A Simply Classic Home 
I Heart Nap Time 
Under the Table and Dreaming 
DIY ShowOff 
Heatherly Loves
Nifty Thrifty Things
Boogieboard Cottage 
DIY Home Sweet Home 
Between Naps on the Porch 
House of Hepworths 
Sugar Bee Crafts

Thursday, March 1, 2012

It's Time To Sweat

A couple of weeks ago I was released to start doing core workouts again.  Why am I bothering to mention this?  For those of you who don't know, I had a bouncing baby boy about 3 1/2 months ago.  He was delivered via c-section and I figured, since I was having surgery, I might as well get that umbilical hernia repaired that has been with me for about 3 years.

Well, the surgery left me with pretty much no abdominal muscle tone.  Guess that happens when they turn you inside out during surgery.  This is a big deal for me.  As a former gymnast, I've always taken great pride in having respectable ab muscles.  It makes me cry that they are now a bowl full of jelly.

I was under doctor's orders to wait 12 weeks before I could do any exercises to get my firm stomach back.  Boooo!  Not to mention, I still have 10 to 15 lbs to get off in post baby weight.  Something that is extremely difficult for me to do while breast feeding.

I have a plan though.


It's still cold here and I can't really take my 3 month old out in the running stroller. I need something I can do at home that will get me good results. Good enough to get me back in running shape so I can complete at least one half marathon this summer. I decided to do Insanity. Some of you may not know what this is. It is an insane cardio workout done over 60 days with the goal of getting impressive results.   If you want to know more, check it out here.

One more thing I need to do is improve my diet a bit.  I can't cut back that severely on calories without hurting my ability to feed Jack, but I figured I could do something.  You know those cleaning products from Shaklee?  Well, I pretty much love them and their organic approach to cleaning.  They happen to have a weight loss program called Cinch that I figured I can alter to suit my needs.  It is also something I can fit in my budget.  Here is the shake that I ordered.


I decided to start with the strawberry flavor.  If I like it and the results, I may order more.  I got this through Sarah over at Three Boys.  Check out her Shaklee shop for all of the products they have.  The plan says you should do one of these shakes and a snack bar in place of two meals and then have a healthy dinner.  I'm just going to be replacing one meal per day to make sure I'm getting enough calories.  Another reason I'm doing this is because I've been having a hard time eating healthily around my Home Health Nurse job.  The drive through has been my friend a bit too much.  This seems like the perfect, easy solution.

I figure that I may not lose weight very fast but I'll be toning and leading a healthier life.

I'm about a week into Insanity and it's kicking my butt!  You know where I hurt the most?  The love handle area!  What's up with that?  It is a V.E.R.Y demanding workout routine, so it better work.  I'm in pain here!  I haven't gotten the Cinch shake mix yet, but am excited to give it a try.  I'll keep you updated on my progress, but don't expect to see a huge before and after photo...that would be a bit embarassing.

Do any of you have great fitness/healthy eating routines that have worked for you?

post signature

Linking to:

The Shabby Creek Cottage
Related Posts Plugin for WordPress, Blogger...